
Elden Ring: Shadow Of The Erdtree Guide – Boss List – There are a lot of new bosses to face off against in Elden Ring’s first and only expansion, Shadow Of The Erdtree.
In typical FromSoftware fashion some of them are mandatory, many are optional and some are very difficult to find, making the whole journey to find them in the first place a huge part of the joy you receive when you achieve victory.
Out of all those, this guide will list all the major boss fights in the DLC. That means all the bosses you get a Rememberance from after defeating them, so that’s all the mandatory ones plus a bunch of optional ones. Also this list is not a ranking, the numbers are only an indication of our attempt to guess at the order you might face these bosses in.
This guide contains spoilers for Shadow of the Erdtree.
Related News – Check out our other guides for Shadow Of The Erdtree here to help you along in your journey
Elden Ring: Shadow Of The Erdtree – Boss List
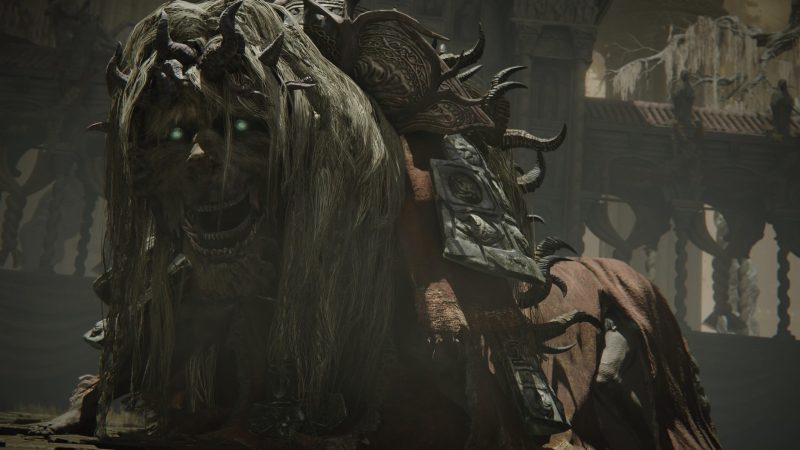
1. Divine Beast Dancing Lion
This is the boss we’ve all seen in the trailer, and it’s likely the first major boss you’ll fight in the DLC, unless you march towards Castle Ensis first.
It’s an incredible fight, and a great tone-setting spectacle for what’s to come in the rest of the DLC. You can find the Divine Beast Dancing Lion in Belarut. You can also find the Horned Grandam on your way to the Lion.
Speaking to her will kick off her quest line, which ends with getting an incantation from her when executed correctly, so you’ll want to look around for her.
2. Rellana, Twin Moon Knight
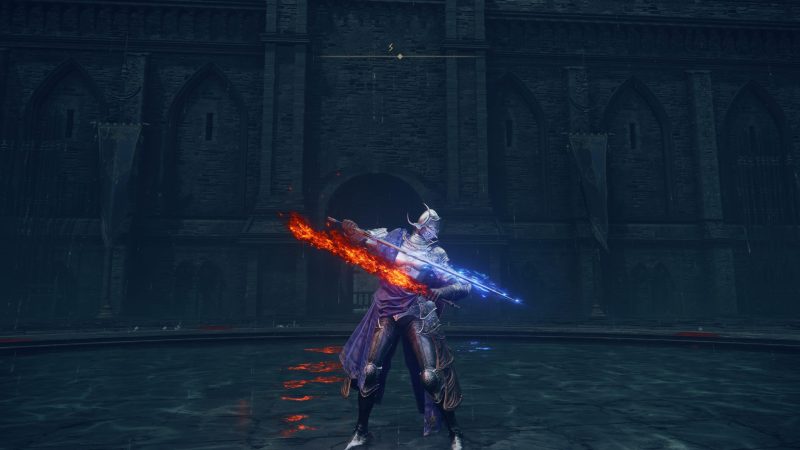
Rellana, the sister to Rennala and the aunt to Ranni who also calls herself Renna who’s also aunt to Ranni/Renna’s two brothers Rykard and Radahn and their dad is Radagon is likely the second major boss you’ll face off against.
True to her Carian family not only in R name but in her proficiency with magic. She wields two Twin Blades, one magic based after her family, and the other fire based, but specifically Messmer’s Flame-based.
Rellana renounced her family name to follow Messmer, which is where this specific duality separate from the Sword of Night and Flame comes from.
She was Messmer’s right-hand sword, and for good reason. She’s quick and difficult to take down with her onslaught of magic attacks.
However there are multiple summons options, so you can call in plenty of aid if you need it.
3. Messmer The Impaler/Base Serpent Messmer – Mandatory
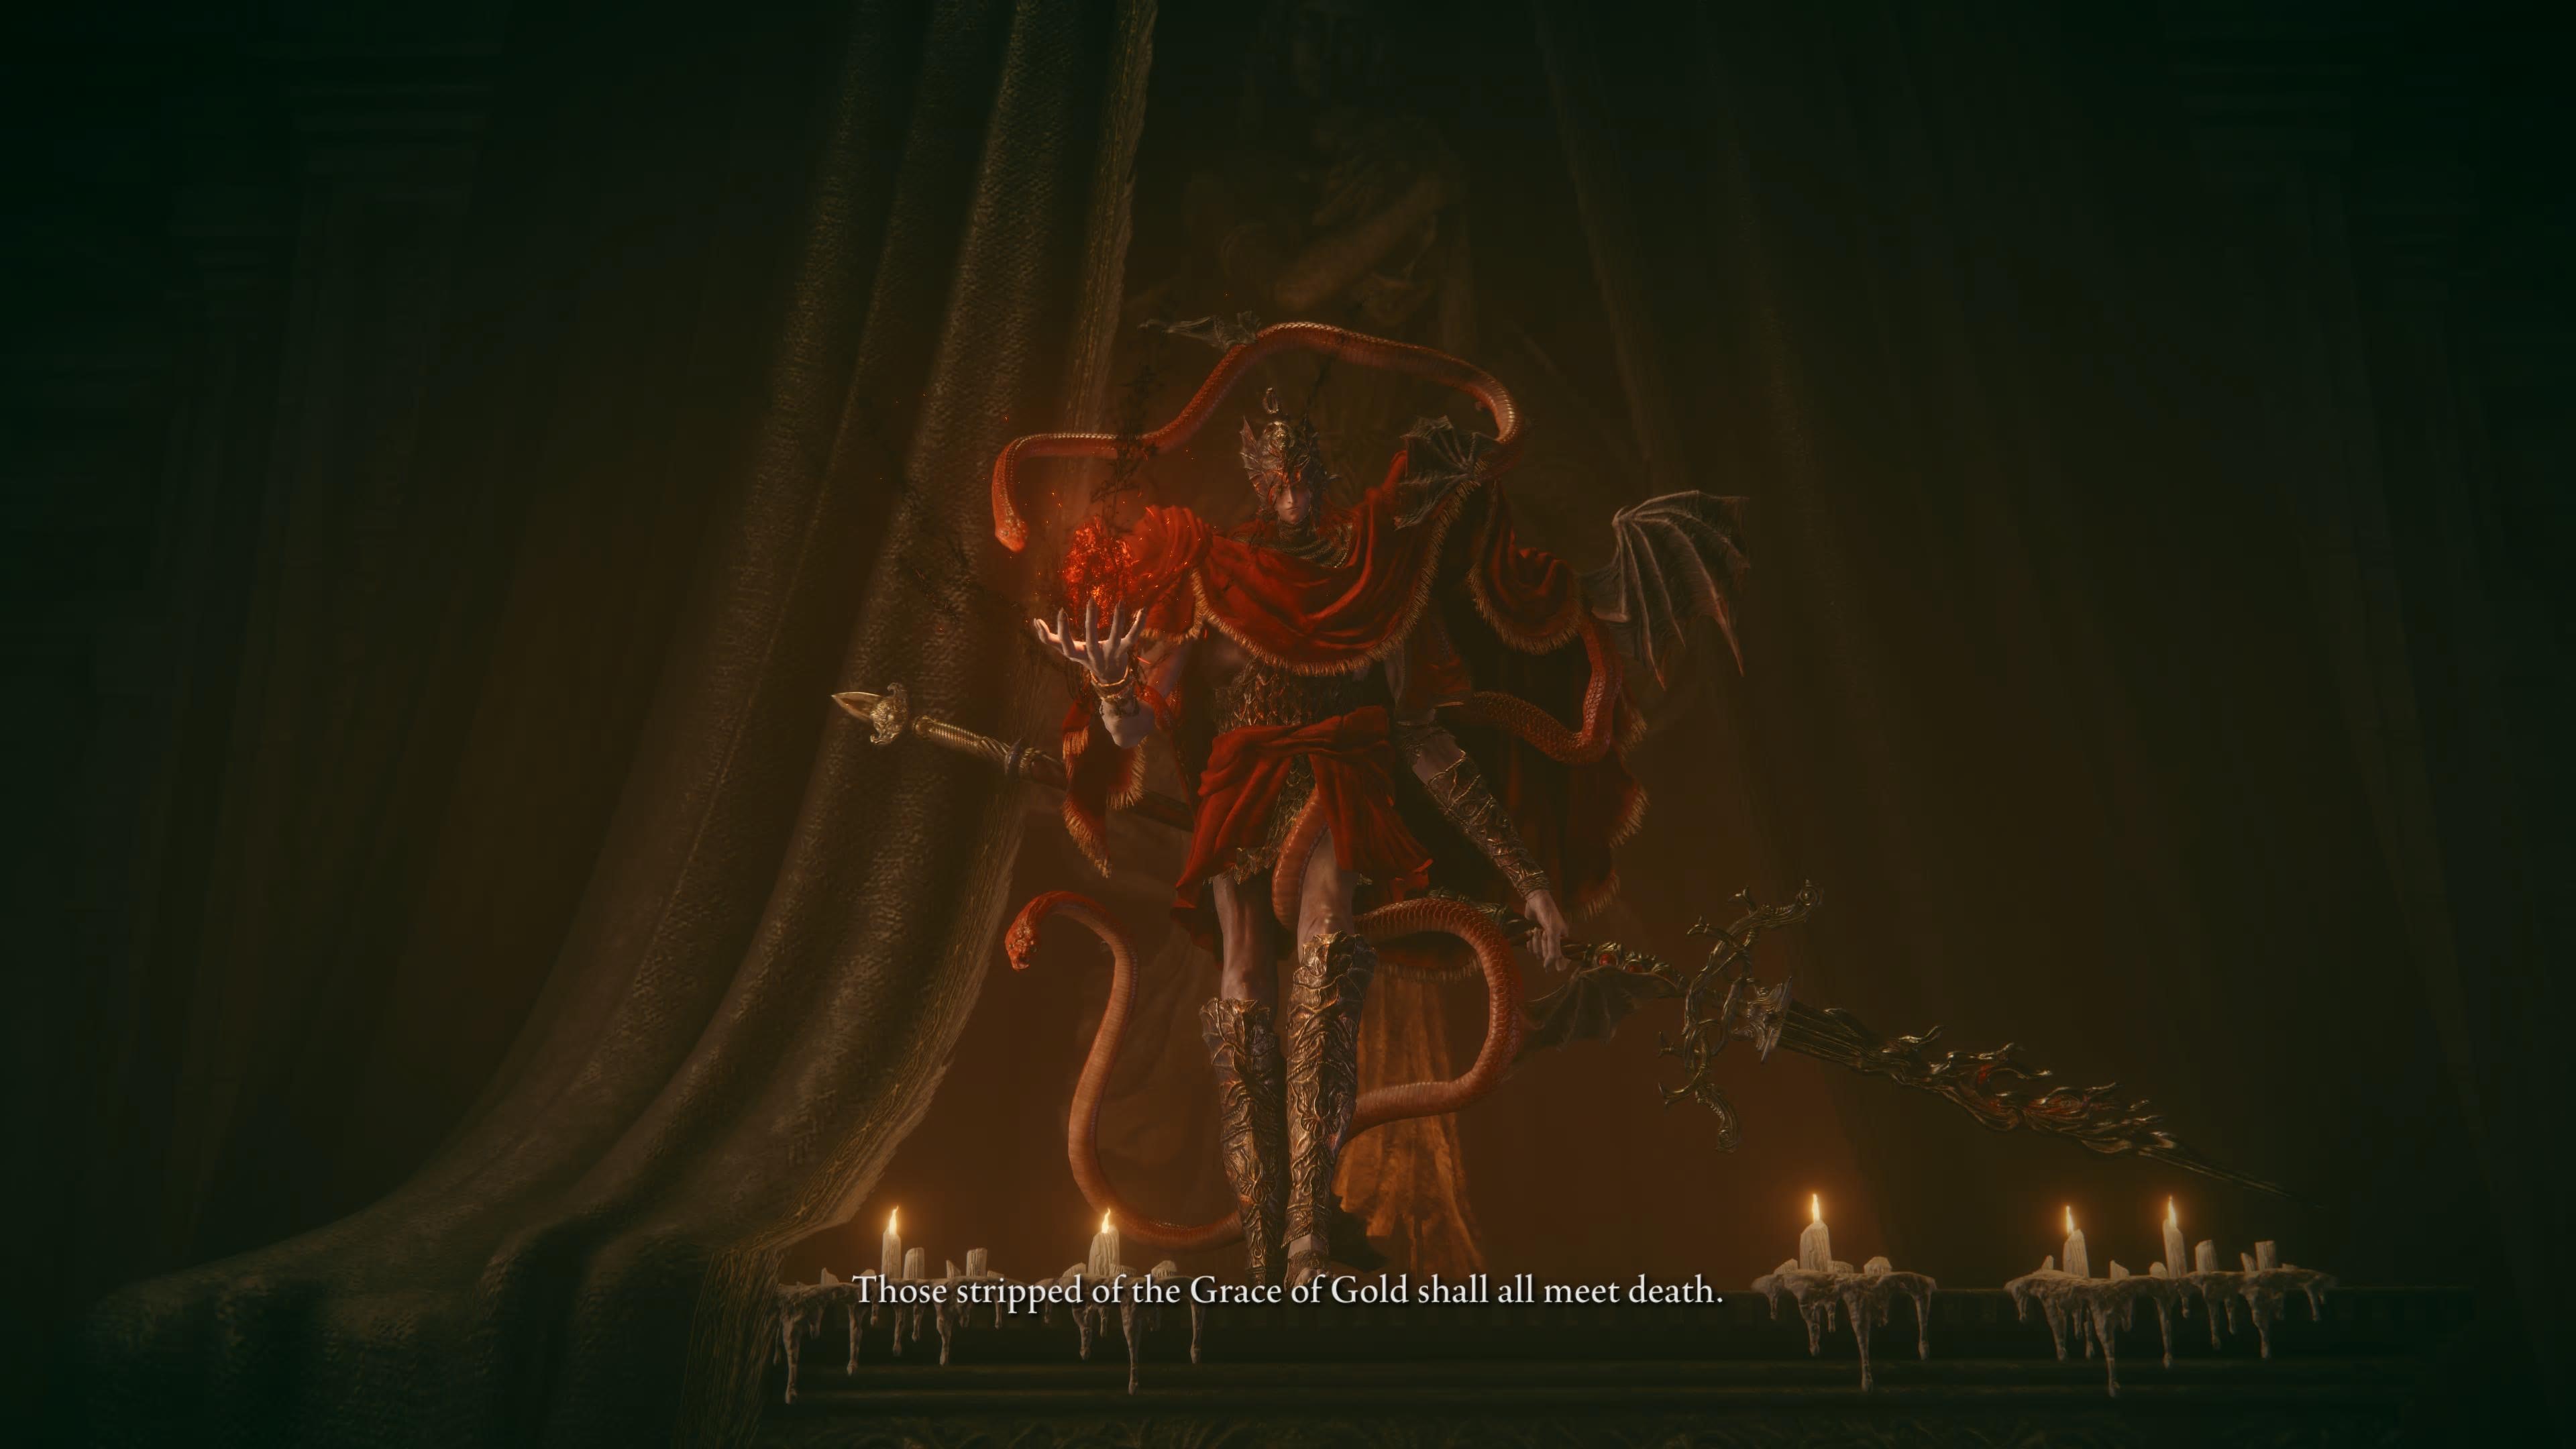
We reach her our first mandatory boss, Messmer the Impaler/Base Serpent Messmer. Messmer is the one you see everywhere in regards to the DLC. He’s Marika’s son, an important character for the lore and another amazing spectacle of a boss fight.
He’s insanely fast in his first phase and with all his fire attacks having protections like the Flamedrake Talisman +3 in your build will be a must.
You might not have to face him alone however, as it is possible to have NPC summons available for this fight along with your spirit summons, should you choose to use them.
His second phase is particularly dangerous and in hindsight a foreshadowing of things to come in later boss fights. The veracity of attacks that create more and more visual noise make it very difficult to actually see where you need to dodge.
It’s not impossible by any means, but it’s not uncommon to die a few times just learning how to read his second phase.
4. Putrescent Knight
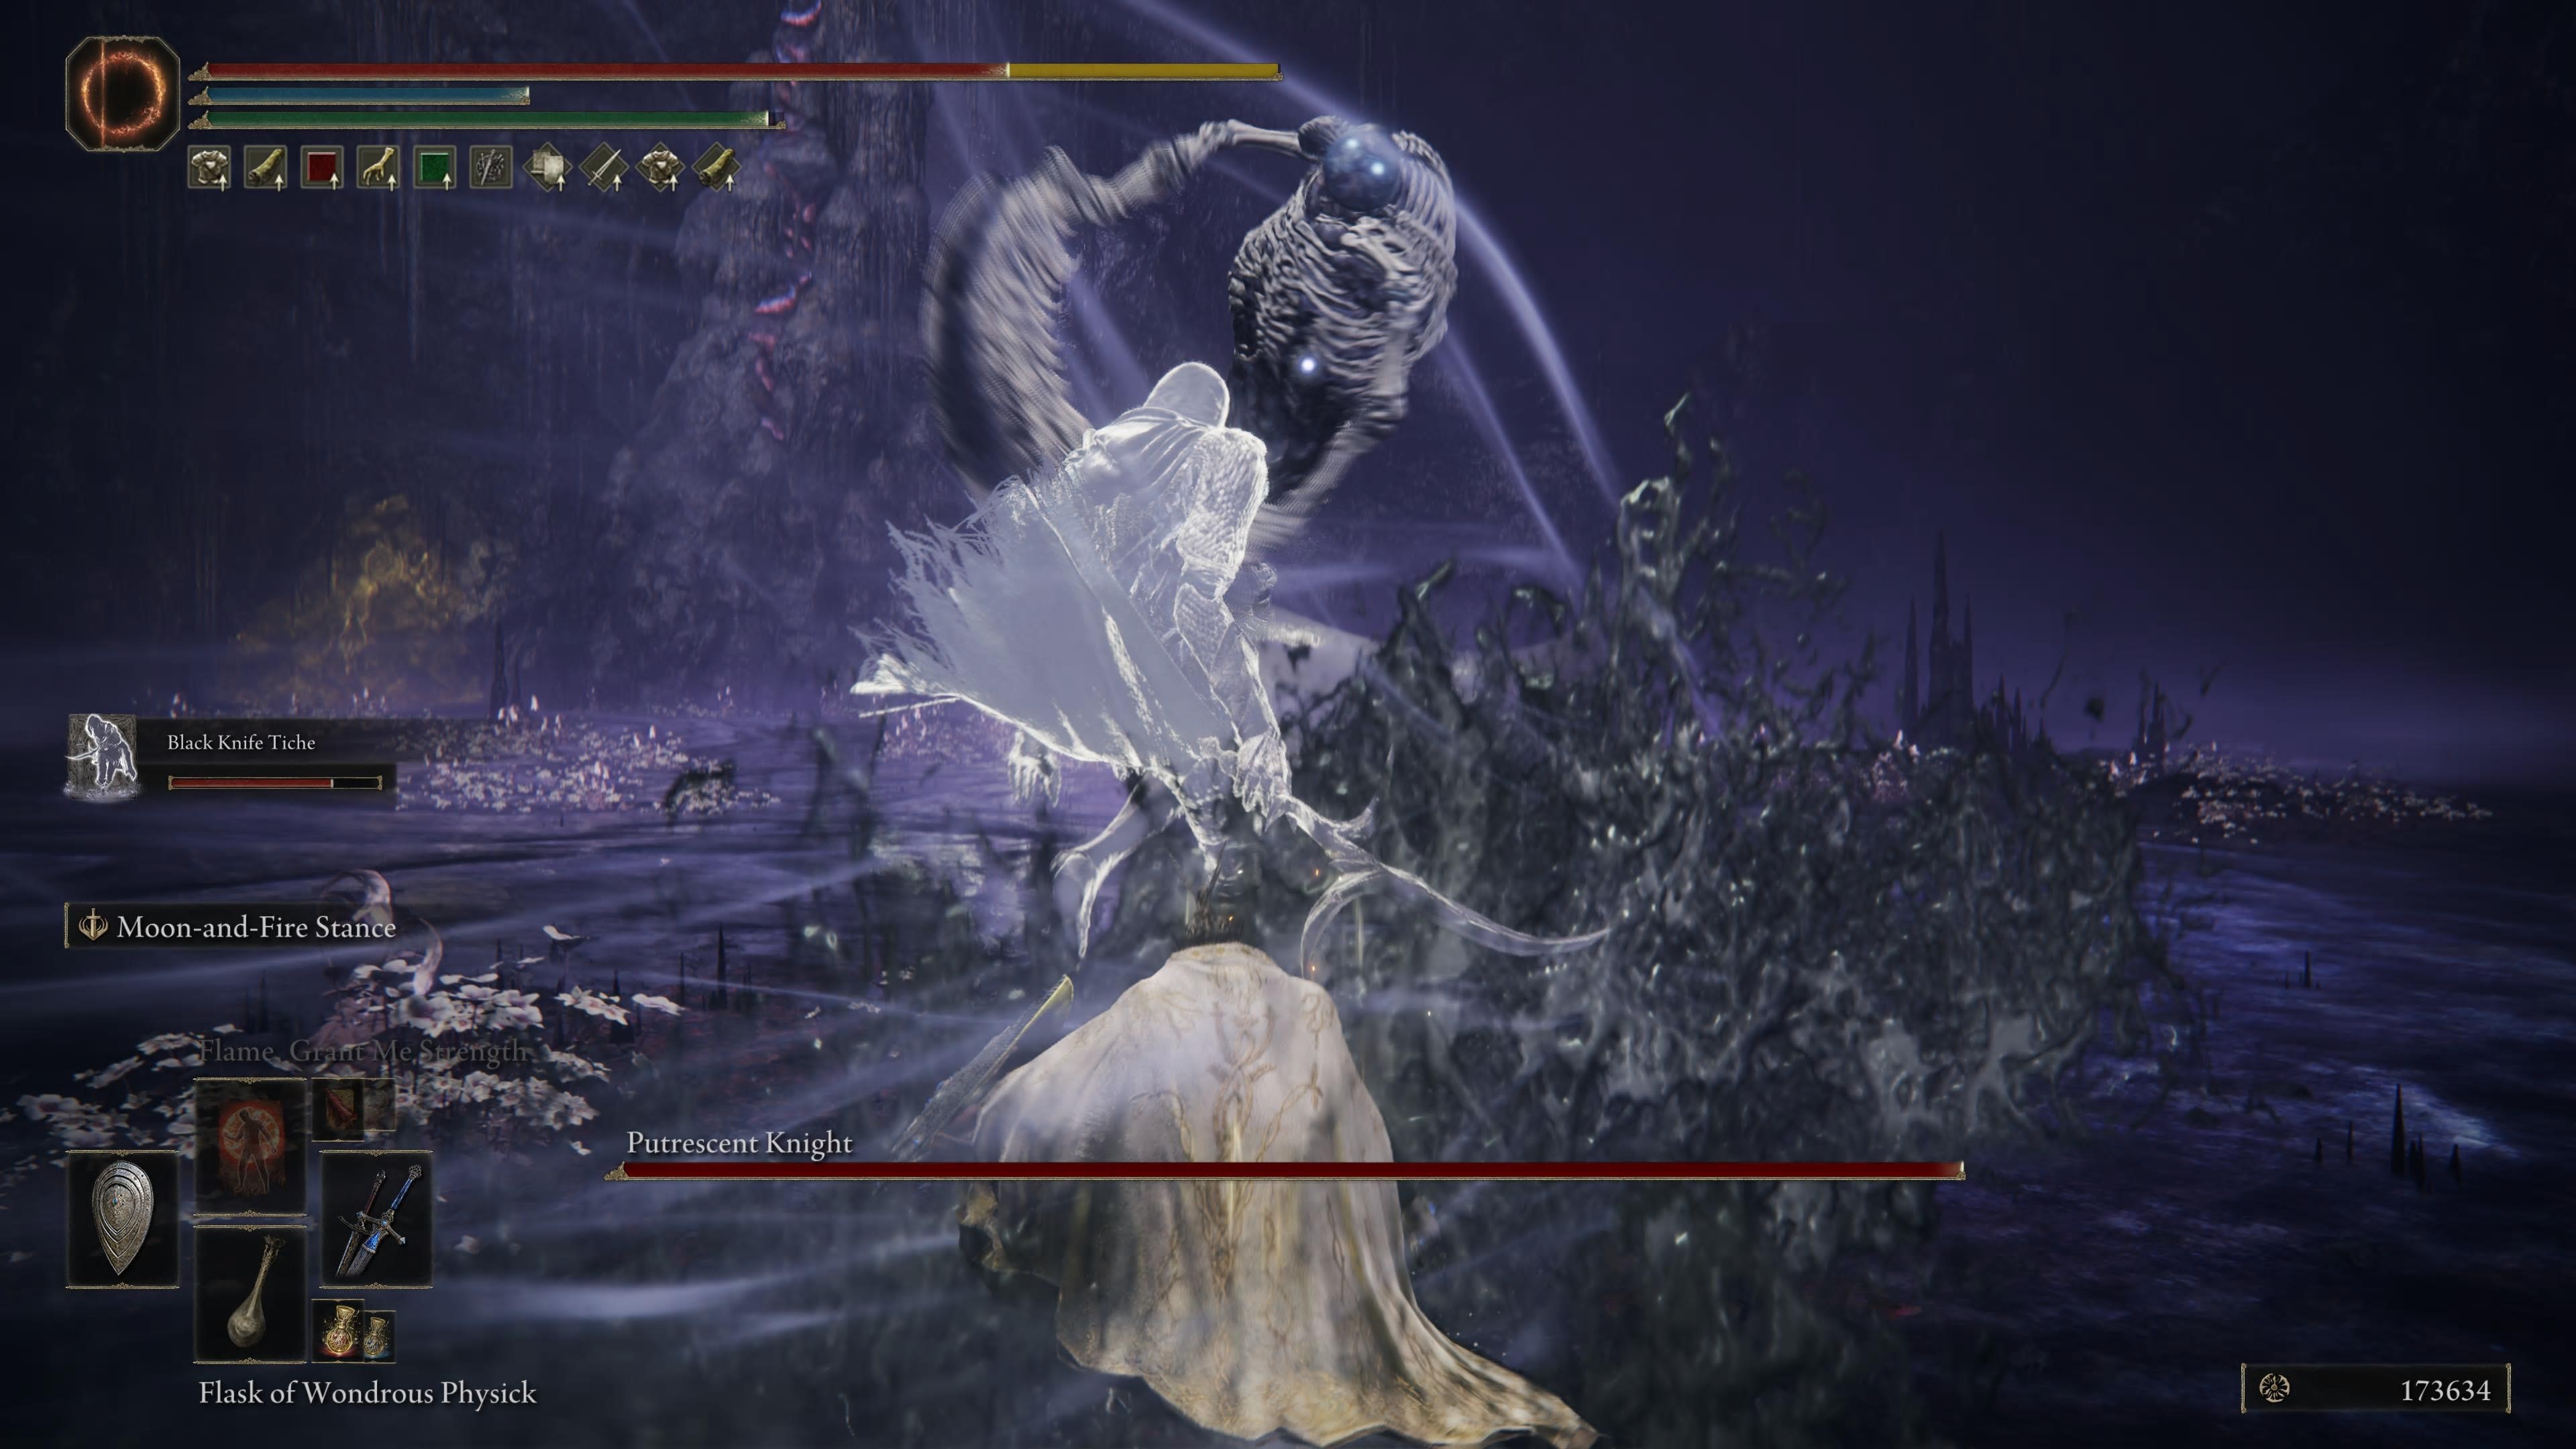
You’ll find the Putrescent Knight at the bottom of the map. Truly, further south than you can even see possible just by looking at the map.
Deep underground at the bottom of the Stone Coffin Fissure, you’ll find the knight just ahead of another huge confirmation for the game’s lore-focused players. Check out our guide on how to reach the Knight and the Fissure here.
For anyone who’s played through Bloodborne and it’s DLC, this fight will feel very familiar for a few reasons – though it’s not nearly as fast-paced as the boss the Knight resembles.
Watch for the times the Knight jumps off his horse. They’ll both attack you with staggered timing to try and catch you distracted but if you can dodge both of them it’s a great opportunity for some serious damage at the end of the combo.
Beyond that watch for fire attacks that effect a huge area of the arena, and don’t be afraid to jump since most of them are best dodged that way.
5. Commander Gaius
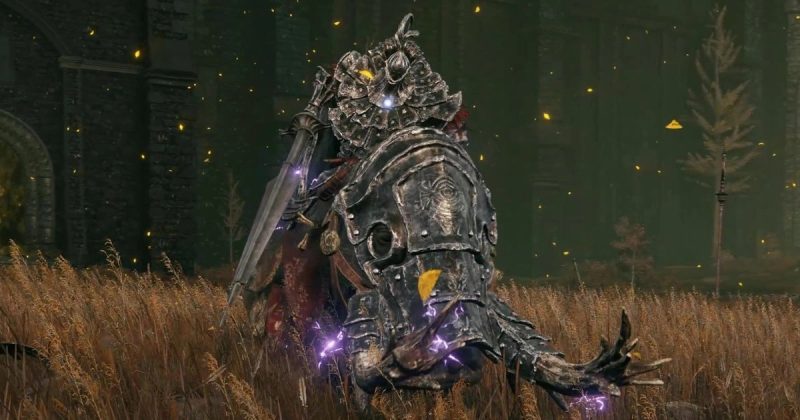
Another boss that feels similar to bosses from other FromSoftware games, Commander Gaius was an old friend of Radahn’s and like Radahn wields a powerful control of gravity magic.
Gaius is unexpectedly extremely difficult. You probably feel like you know how to deal with mounted cavalry. You don’t know how to deal with Gaius.
The impact and range of his attacks is larger than you might think on first glance, and you’ll want to make sure you really get the timing right when dodging his charge attacks.
If you get caught by those you’ll potentially find yourself in a loop of not being able to recover in time before dying. He’s a frustrating boss for this reason, so it’s recommended to buck up your poise stats if you want to avoid being knocked back all the time.
Because he’s also constantly on the move, any spell casters will be waiting want to stick with spells with good enemy tracking. Gaius isn’t as huge of a spectacle as other fights, but he’s a strong enemy that makes victory feel especially satisfying.
6. Scadutree Avatar
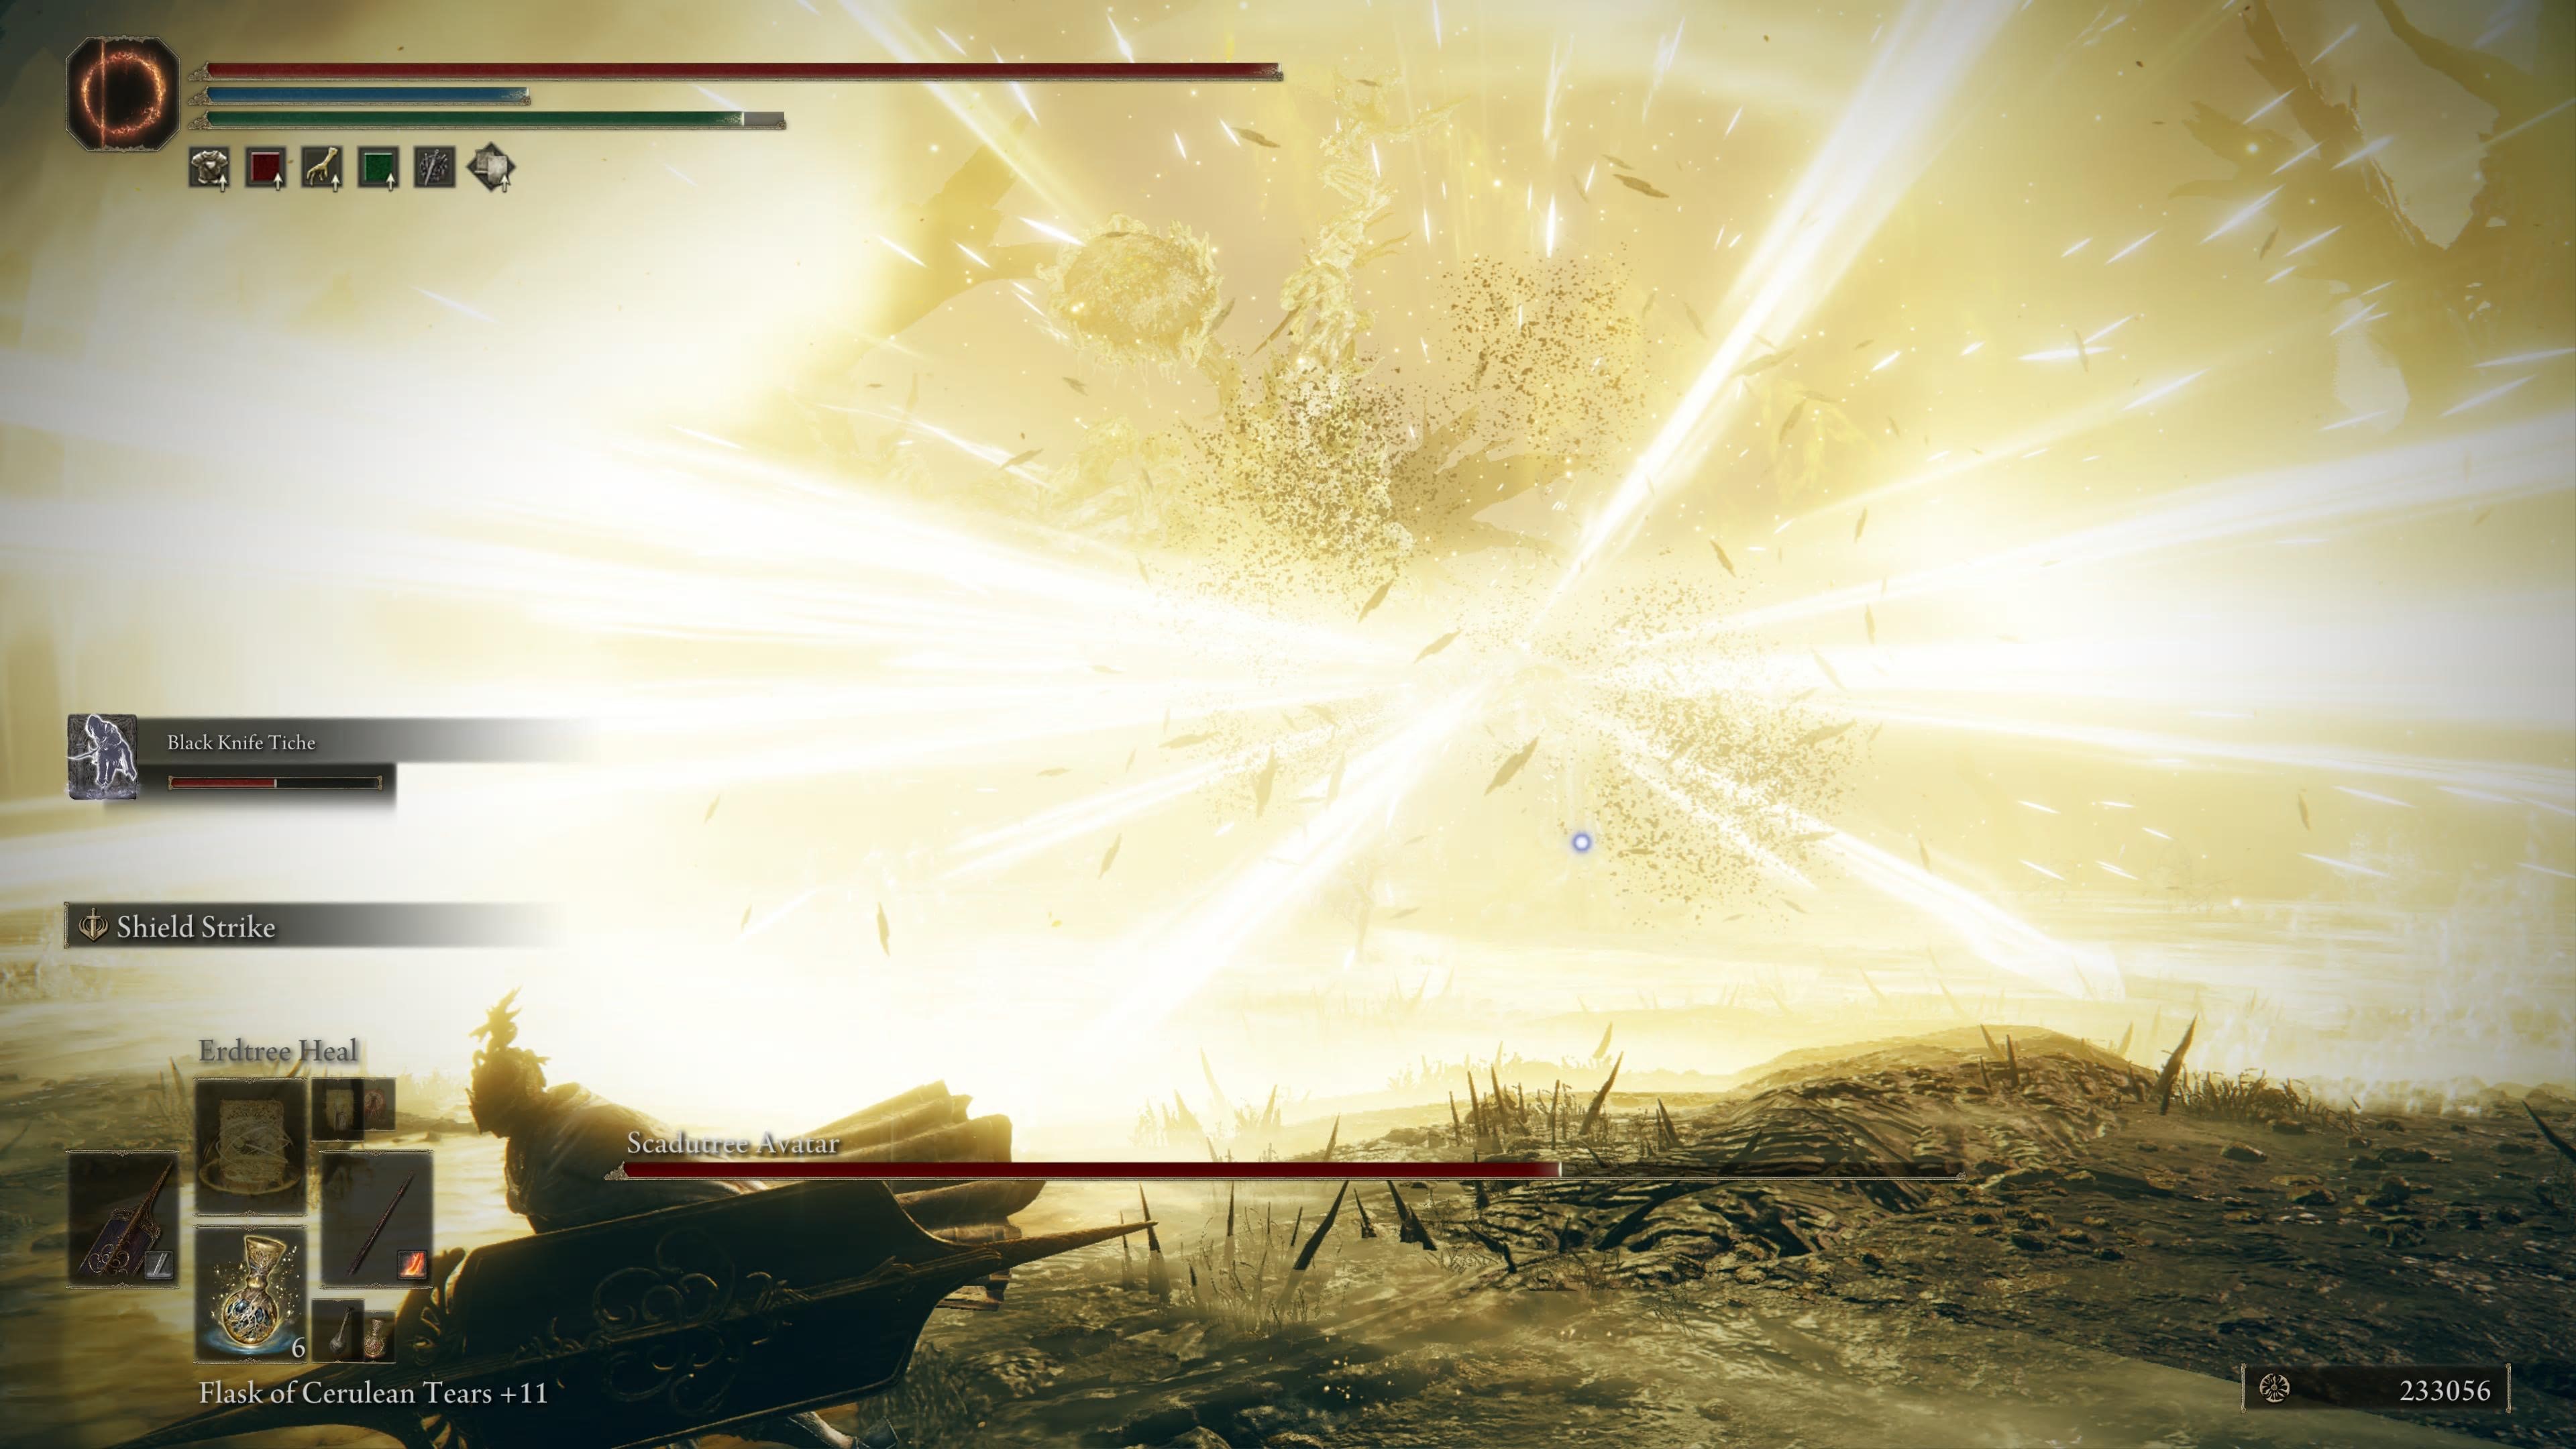
Definitely the best Avatar fight in all of Elden Ring, the Scadutree Avatar is a great fight that takes place as close to the Scadutree as you can get and is a huge spectacle not to be missed.
It’s worth seeking this boss out, but it can also be one of the more difficult fights in the DLC. It can also be easy – it depends on your approach.
Focusing your attacks on the main face of the corrupted flower of the Avatar is opportunity for huge damage. Like all other Avatars, it’s also weak to fire, so playing to these advantages can help make this an easy win.
What makes this boss difficult is the fact that nearly all its attacks do bleed damage, and can rapidly build up that meter whether you’re standing right next to it or far away with its array of long and close-range attacks.
The other thing that makes it difficult is that you’ll need to kill it multiple times to actually finish it off. So when you take it down once, the fight is just beginning.
7. Midra, Lord of Frenzied Flame
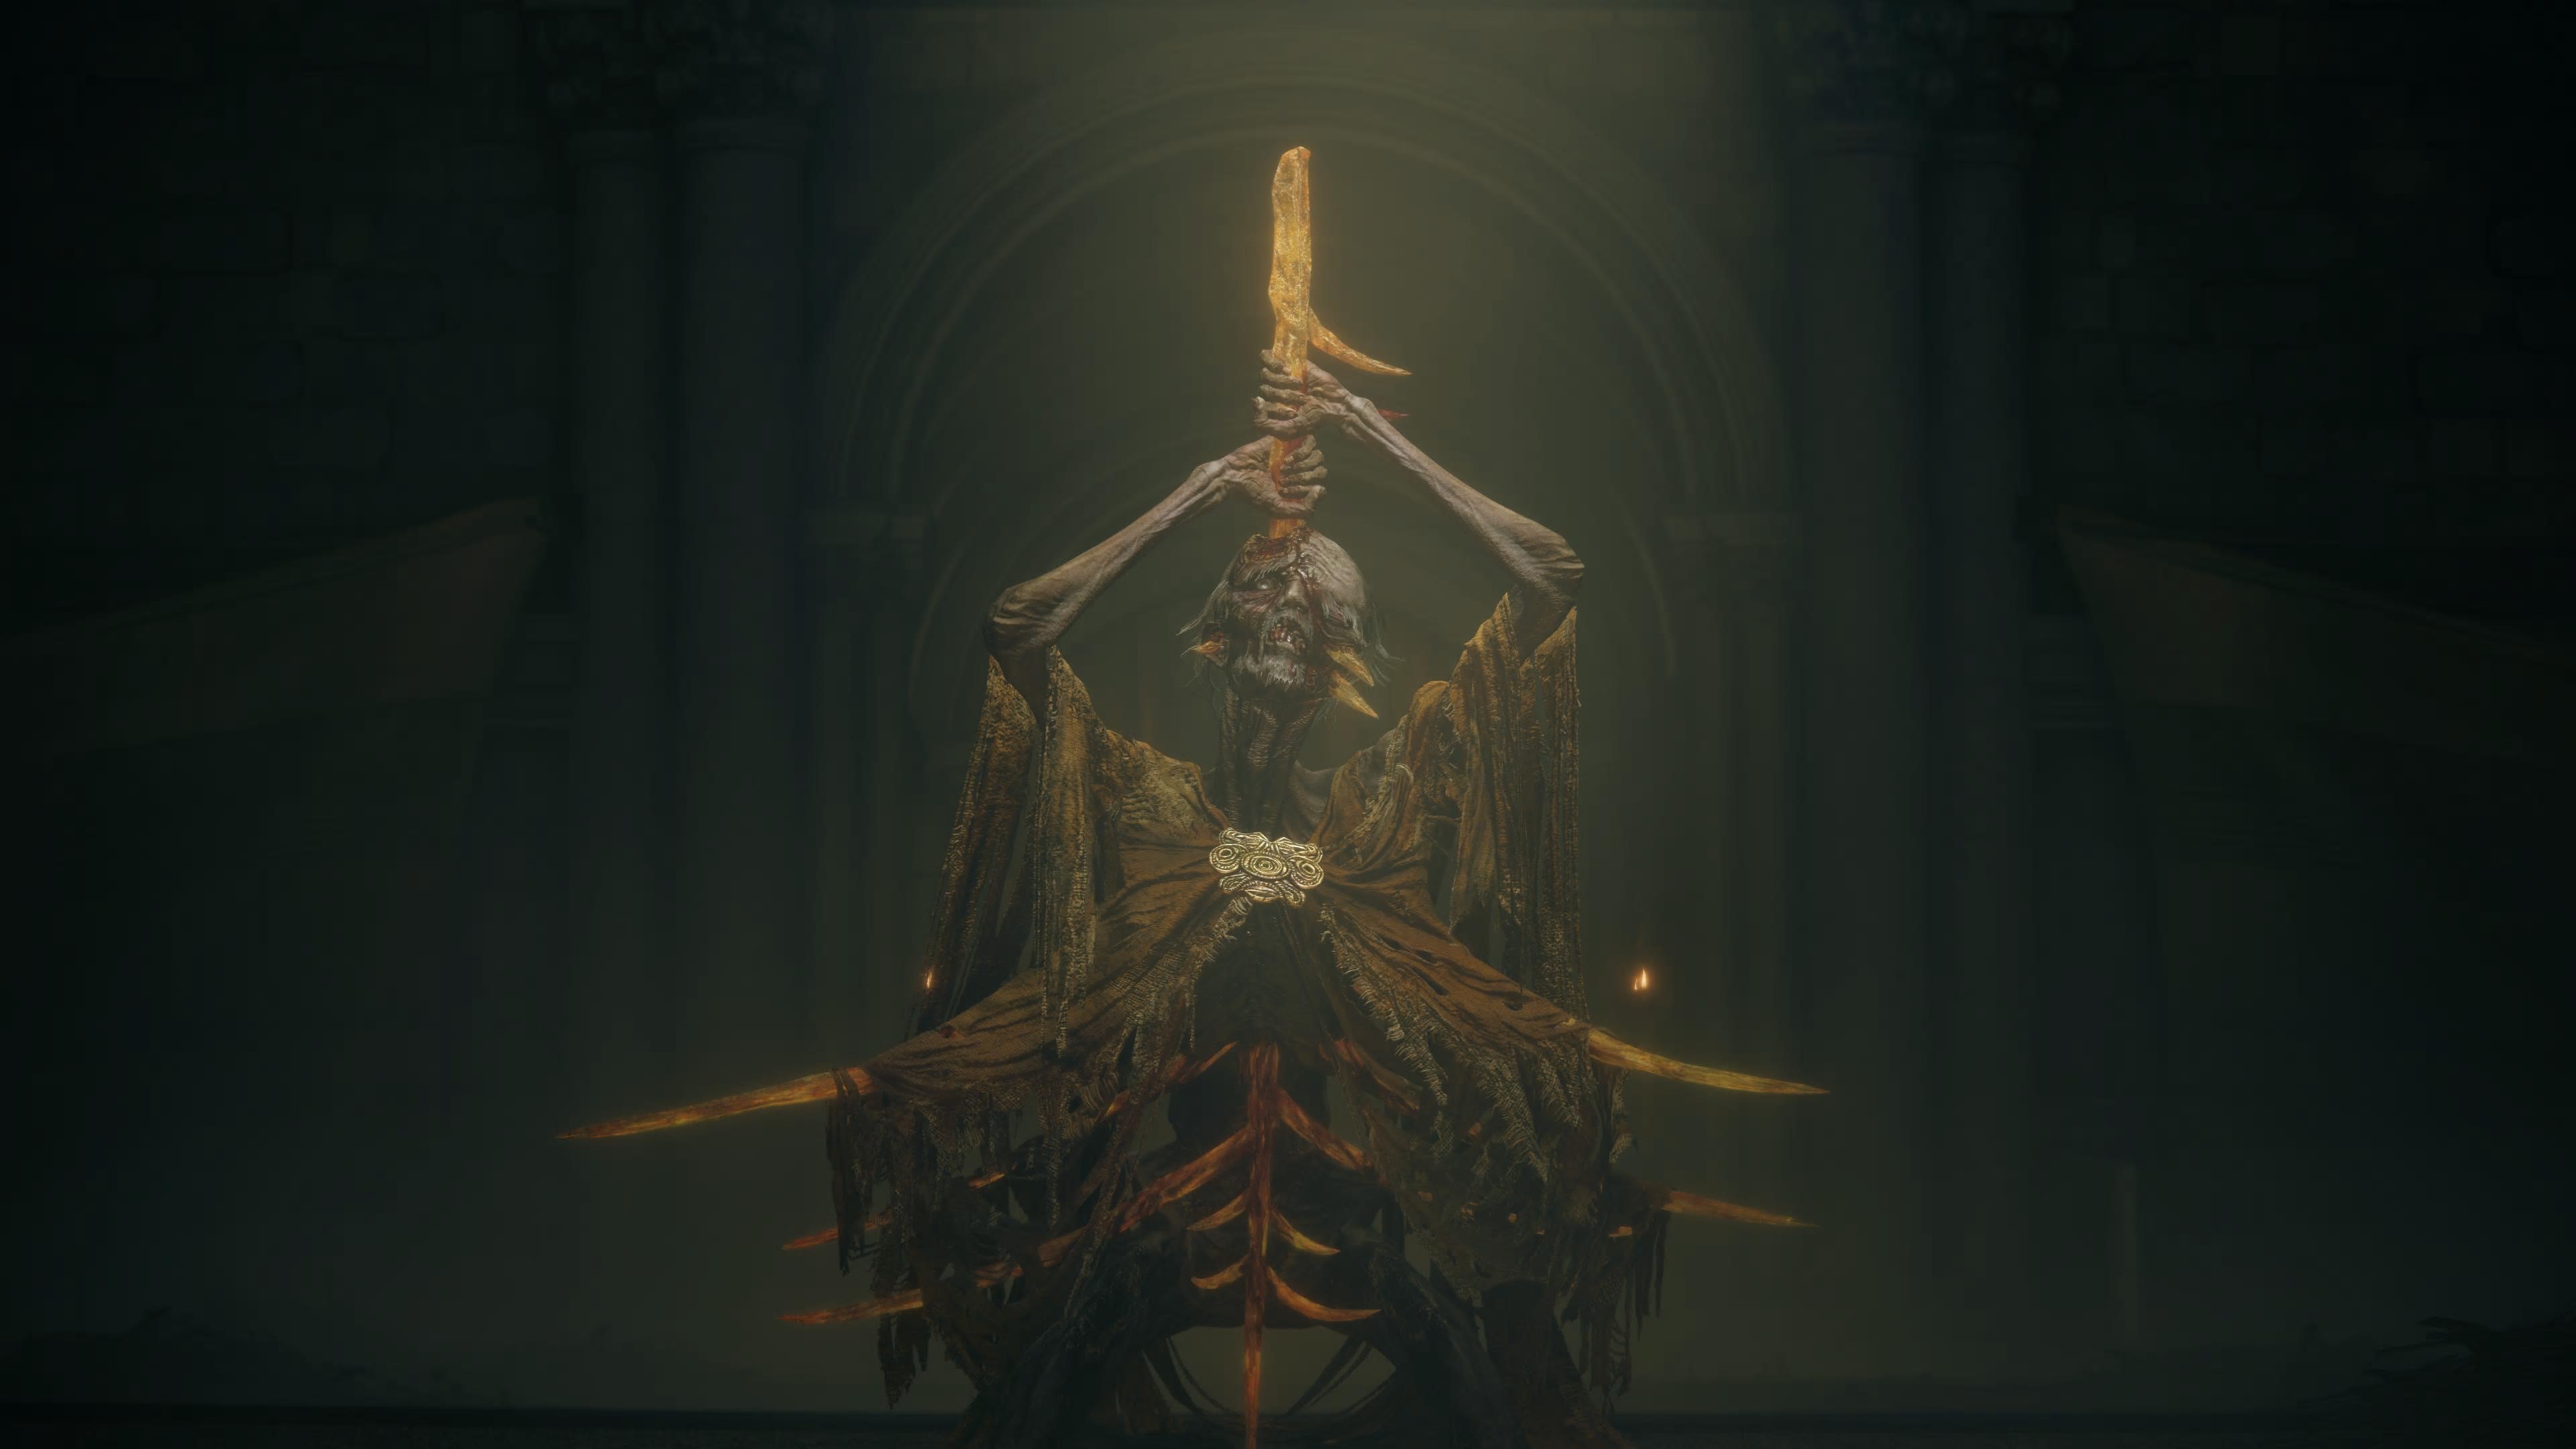
Another boss that was featured in a trailer for the DLC, Midra, Lord of Frenzied Flame. This is another fight that’s difficult to get to, because you have to navigate through a section of the Realm of Shadow that practically makes Elden Ring a survival horror game.
You’ll find Midra in Midra’s Manse, deep in the Abyssal Woods. In these woods, Torrent is unavailable as he’s afraid to appear. There are also enemies that it’s just impossible for you to damage, who will kill you almost instantly if you can’t run away back to a site of grace to reset things.
Sneaking past them on the way to the Manse and the path to the Abyssal Woods in the first place is a long one – but worth it for such an excellent boss fight.
Easily one of the best in the DLC, as the name suggests you’ll want to protect against your madness building up quickly. As far as weaknesses go, bleed is once again a go-to strategy for the fight.
It’s also possible to break his stance with a consistent barrage of strong attacks, just wait for your openings across his wide, delayed swings.
8. Metyr, Mother Of Fingers
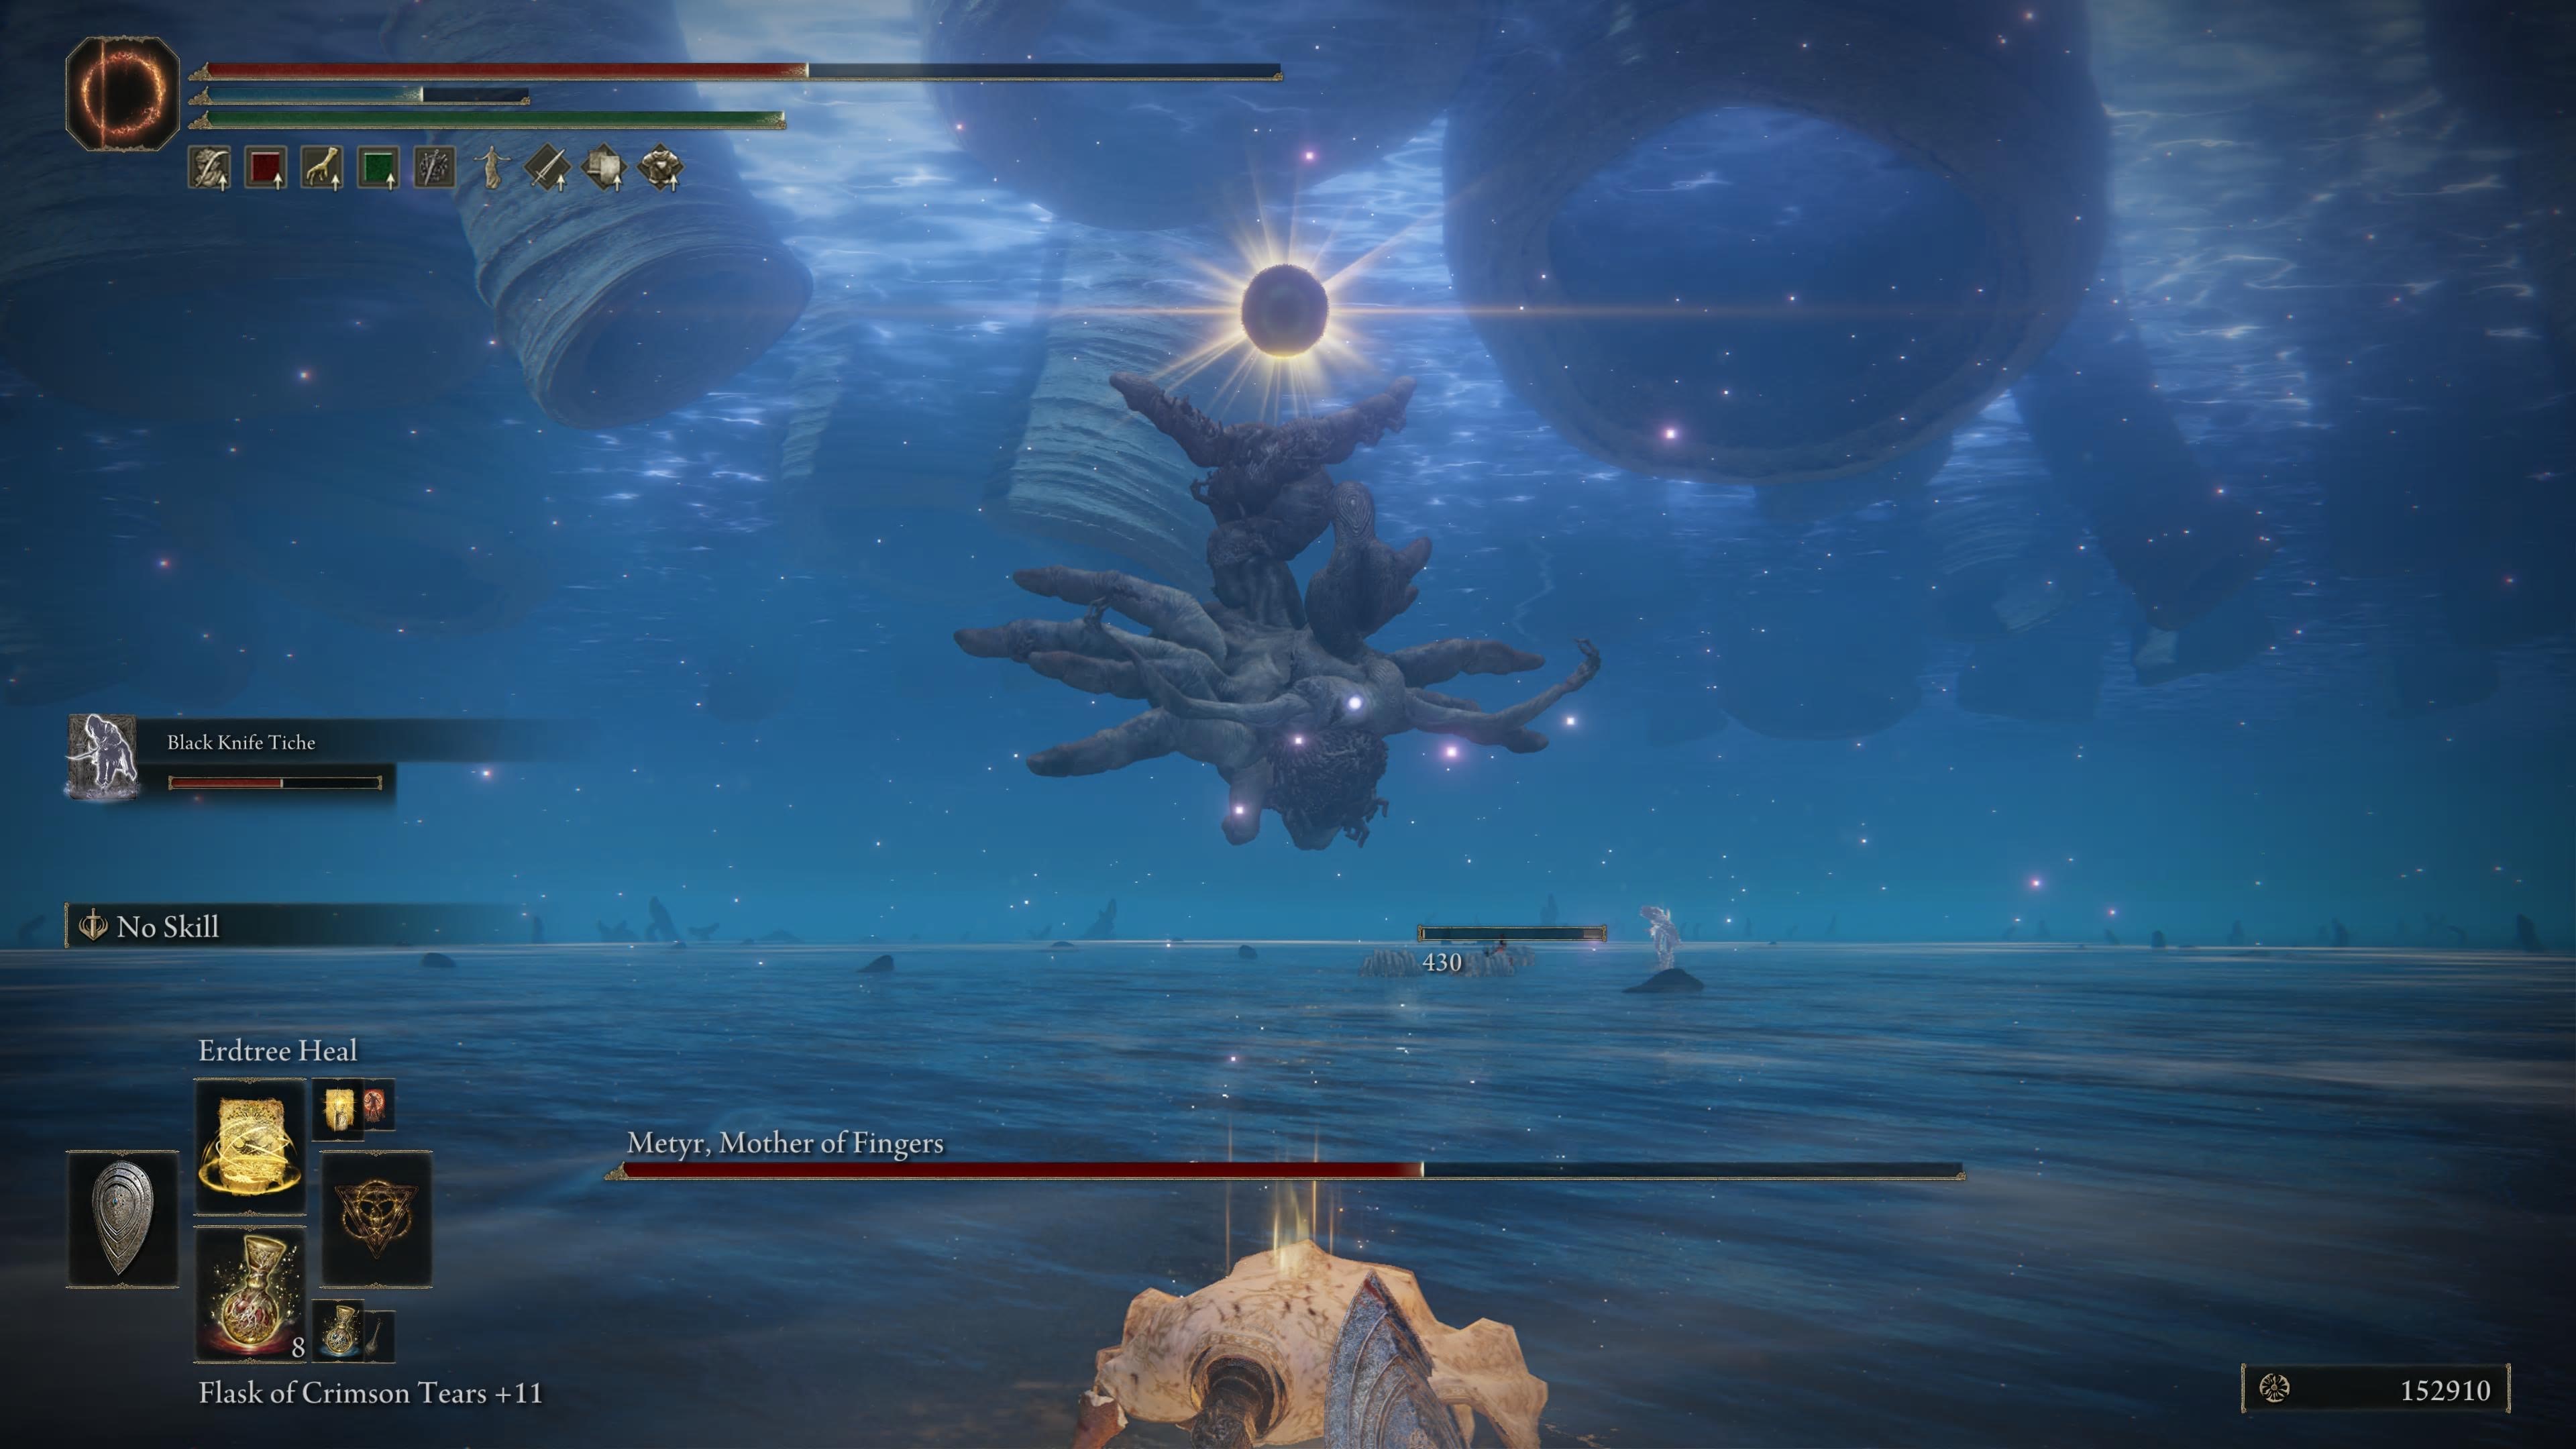
Another boss that has huge implications for the lore and is difficult to get to, Metyr, Mother Of Fingers is the boss you find at the end of Count Ymir’s questline.
In design she feels closest to the Elden Beast, which feels intentional the moment you learn her origins. During the fight you’ll want to watch out for her large area-of-effect attacks that can knock you back and be devastating one-hit kills in some cases if you’re not careful.
Staying close to her is the best thing, especially because – like Elden Beast – she has a weak point in what could be described as her ‘chest’ area. She’s very weak to bleed but also especially weak to magic, so sorcerers do have an advantage here.
Also make sure to watch for the times she’ll spawn other Finger enemies. It happens quickly and just as fast she’ll be on to a new ground slam attack of some kind, so it’s easy to forget about these smaller combatants and have them sneak up on you at the wrong time.
9. Romina, Saint of the Bud – Mandatory
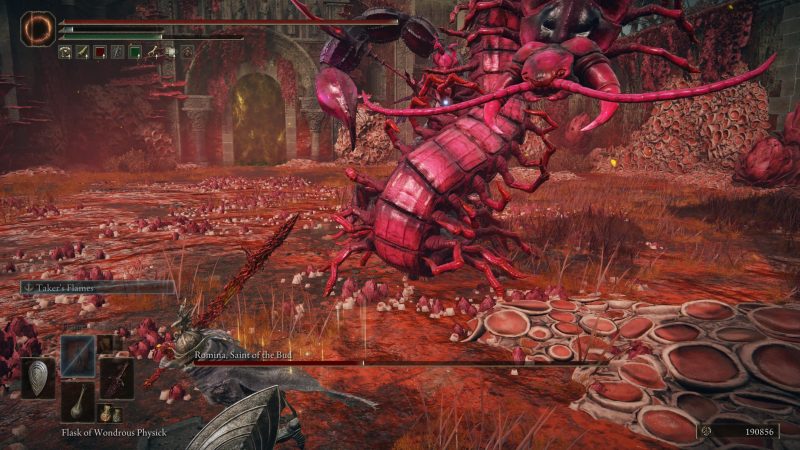
One of the few actually mandatory bosses or bosses required to finish the DLC, Romnia, Saint of the Bud is another rot-based opponent though not one nearly as difficult as Malenia.
She has a few large area of effect rot spells that can fill up your rot meter quickly, though her attacks overall are relatively easy to dodge.
Despite how late into the DLC you’ll likely face her, she’s nowhere near the top of the list in terms of difficulty. Just be watchful of her grab attacks and butterfly spell that surrounds the room with rot-spewing butterfly’s and you’ll be alright.
Bleed is (as always) your friend and it’s not the worst idea to have some Preserving Boluses handy. By this point in the DLC, especially if you’ve been diligent about collecting Scadutree Fragments, then you should be just fine for this fight.
10. Promised Consort, Radahn/Radahn, Consort of Miquella – Mandatory
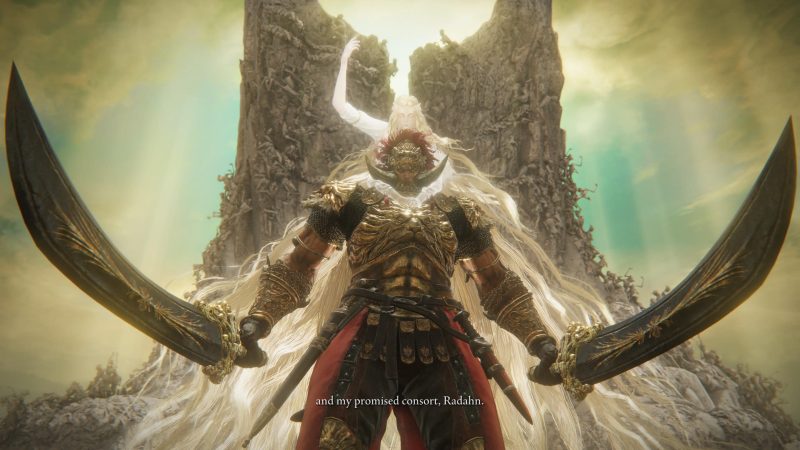
The final boss fight in the DLC and arguably the most difficult boss fight in Elden Ring is the return of Radahn, though not the shell of a warrior driven mad by rot we fought in Caelid.
This is Radahn in his youth, his prime. Wielding his blades with a clear mind and strong will, moving fast and hitting harder.
Despite what you might think based on his Caelid fight, this plays nothing like that, and you’ll need to deeply memorize his attack pattern if you want to survive to his second phase.
Which is where all bets are off, and the foreshadowing from Messmer’s fight is realized. With the aid of Miquella on his back and an array of holy attacks following all of Radahn’s regular strikes, dodging anything is made 1000x more difficult.
There’s even more visual noise than Messmer’s, but the thing that makes it worse this time is that most of it comes from bright beams of light. It’s very difficult to see where you need to dodge at all when you’re consistently being blinded.
You can also potentially lose in the second phase through an insta-kill grab attack. If you’re grabbed by Radahn twice in the second phase, Miquella will successfully charm you to serve him.
A big message will read “Heart Stolen” and you’ll instantly lose the fight. If you’ve already been grabbed once and have Miquella’s Great Rune in your inventory, you can use it to break the charm, resetting it so you’d need to be grabbed another two times before your heart could be stolen.
Despite all the difficulties this fight presents, there is a simple trick to it as old as any other in FromSoftware games. Tough as Radahn is, with the right weapon and strength stats it’s possible to stance break him multiple times in a row.
Executing this strategy successfully makes the fight trivial, as you simply get back-to-back critical hits that do huge damage.
If this won’t be your strategy, then bleed is your best bet.
That’s all the bosses that get your Rememberances, only three of which are mandatory. The fourth mandatory boss fight is a group fight against Leda and a variety of her companions.
How difficult that fight is depends on how far you’ve gone in various quest lines, but the main reason it’s not on this list is because you don’t get a Rememberance from it.
Another boss not featured on this list is Bayle the Dread, but rest assured he’s on the same caliber as the toughest enemies here. You just don’t get a Rememberance from his fight – but it feels like you should, so he’s worth mentioning.
Source link


